01 / Starting point
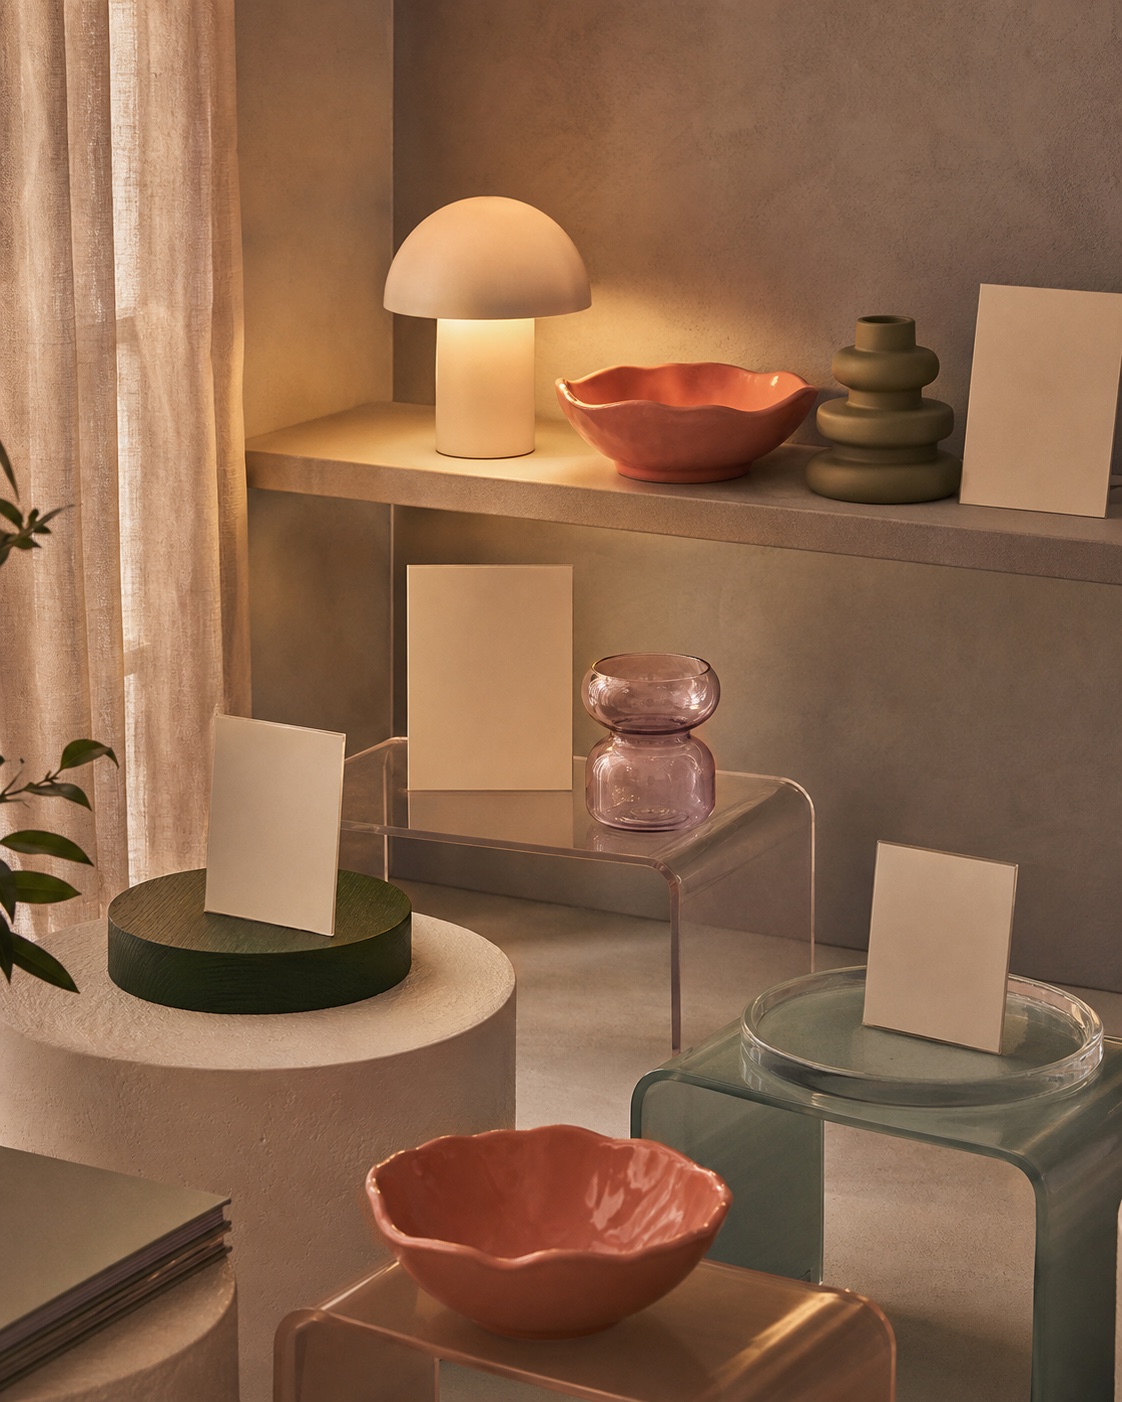
Display supports give products different heights and messages different positions. Their job is structural and editorial: establish what should be noticed first, keep labels readable and leave enough negative space for each object to retain its form.
Acrylic risers can appear visually light, but their edges, reflections and scratches become part of the image. Metal or opaque supports add more weight and colour. Choose the material based on the product and environment rather than treating transparent as automatically neutral.
02 / Comparison frame
What to compare before choosing.
Scale
A riser should support the product footprint without appearing like a hidden balancing trick.
Load and stability
Check distributed load, base width and whether visitors can touch the display.
Optical behaviour
Transparent materials reflect lights and camera positions; glossy black surfaces show dust and fingerprints.
Message angle
A sign holder must match eye level, reading distance, insert orientation and available light.
03 / Fit check
Know when the object helps—and when it does not.
- Tabletop retail, pop-ups and market displays
- Product photography sets that need a simple height system
- Collections where one hero object and several supporting objects need hierarchy
- The product overhangs or raises the centre of gravity beyond a safe base
- Strong reflections obscure the product or information
- The display needs to pack flat but the supports cannot nest or disassemble
04 / Buying brief
Five checks to make before opening a listing.
- 01
Map product footprint and height on paper before choosing support sizes.
- 02
Build no more than three clear height levels in a compact display.
- 03
Test the arrangement from the actual approach and camera angles.
- 04
Confirm the sign insert can be replaced without tools or visible damage.
- 05
Plan storage sleeves or separators for surfaces that scratch easily.
05 / Field notes
Details that change the everyday result.
Hierarchy needs contrast
If every object is raised by the same amount, the display has changed elevation but not priority.
The sign is a product neighbour
Give the message enough distance to remain readable without becoming a second hero object.
Nesting saves more than volume
Related risers that nest are easier to transport as a known set and less likely to be replaced by mismatched pieces.
06 / Auren decision rule
Choose for the real sequence.
Start with the viewing sequence: hero product, supporting range, then information. Select supports that make that order clear from the first approach.
A restrained display system can be reused across photography and physical presentation when its dimensions are based on the product family.